My propane-fired forge, made of fire bricks on an angle-iron stand. Note the red spot inside, on the left. Also note the little bit of steel with one end in the red spot, being heated. This is the hinge pin for my crucible tongs. The gas burner sticking into the right side of the forge is made from plumbing parts, basically following some of the designs on Ron Reil's webpage. It uses a 1-1/4" steel pipe for the burner tube, a 1-1/4" to 1-1/2" coupling, a 1-1/2" nipple with 4 air inlet holes, and a then a cap at the end. A 1/8" nipple goes through the cap, and the propane flows in there. On the end of the 1/8" nipple is a cap with a #58 hole drilled in it. The propane gets squirted out through this nozzle into the burner, drawing air in through the inlet holes. It runs well from down around 1psi all the way up to above 20psi. The only oddity (to me) is that it starts really roughly. I need to dial up the pressure to typically above 15psi to get the flame to burn outside the burner tube. The sound really smooths out when that happens, and I can adjust the pressure to whatever I need. All the controls for the burner are over on the propane tank. I have a high pressure regulator I bought at Menard's, a pressure gage from Larry Zoeller, and a ball shutoff valve.
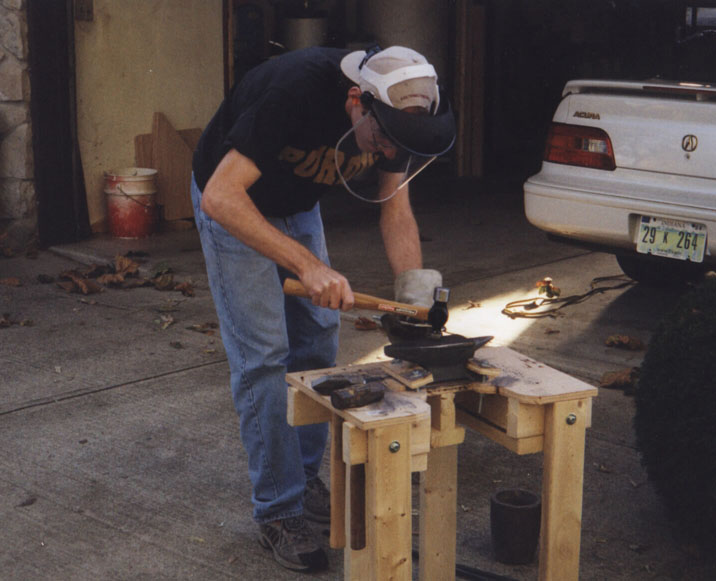
John the Blacksmith. :> That is a $10 'anvil' from Harbor Freight. The crucible I was making tongs to fit is sitting on the ground, just to the left of one of the legs of my anvil stand.

Some of the foam patterns for an extension to my 75Hz horn. The white foam pieces are the gating system - the portion of the pattern that feeds aluminum into the actual mold. I hot-glued all the various pieces together and covered seams and flaws with masking tape. Then I coated the parts in a refractory material made from clay, Elmer's glue, water, and dish washing soap. In this picture, only the small throat section is coated (the brown-colored piece).

This is my hot-wire cutter for working with foam. It's about 18" tall and has about an 18" throat. The spring on the left pulls down on the top lever to keep the wire under tension. The wire is not very visible, but it runs vertically through the center of the circular platform on the right all the way up to the bolt in the top arm.
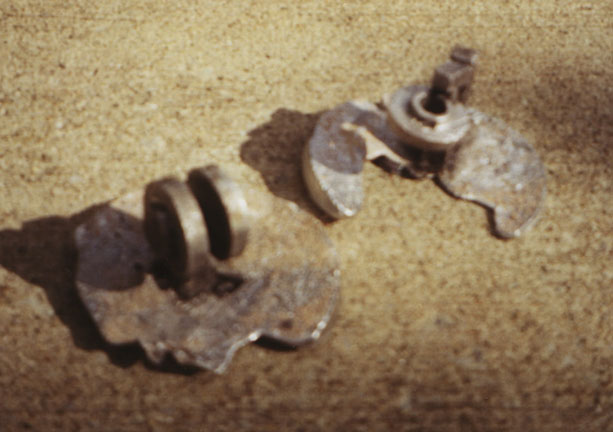
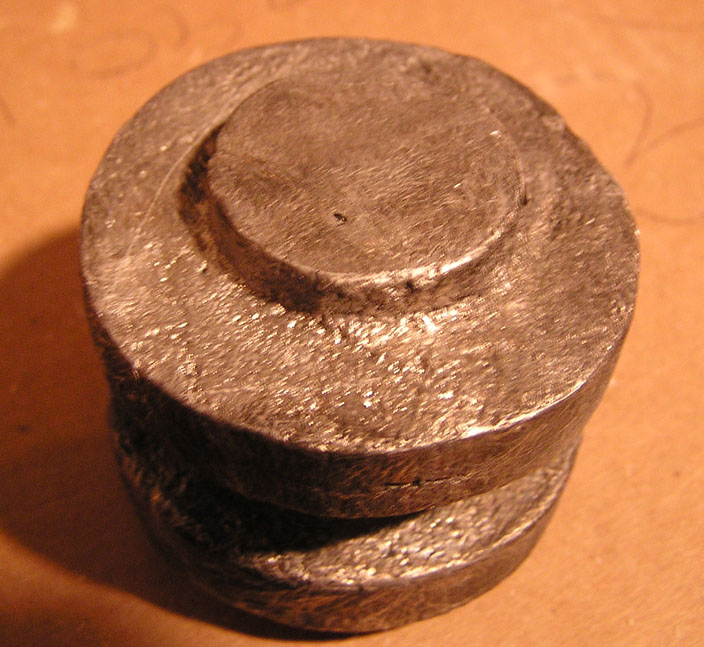
These are the first aluminum castings I made. They are all of the same part - an arm support for a Linn turntable. The actual part is the disk with the boss on one side. One of the castings (the one on the right) was done with the hole through the center. This is the one that was actually used. The other casting, with two of the parts on a common sprue, turned out to not be need. The large roundish sections that are resting on the ground are where the metal flowed up onto the top of the sand that the patterns were bedded in. I used small clay flower pots for flasks and unbonded sandbox sand to support the foam patterns. Surface finish was pretty good, even if you can't tell it from the fuzzy picture.
12/18/04 - I got a digital camera, and took some new pictures of this first casting. You can see in the first picture that the top surface is pretty smooth. This was the outer surface of the foam, which I didn't touch. Below that, the surface gets rougher, as that is where I sawed and filed the foam to shape.